Work in progress
Get the files
Help improve this design
If you use an access switch, or support someone who does, print one, try two or three different keyboard switches in it, and tell me which actuation force suited the person and why. That is the one thing I cannot decide from here.
This project is a work in progress. If you would like to test it, suggest changes, or help iterate, feedback is welcome on the model pages linked above. See the other works in progress for related designs.
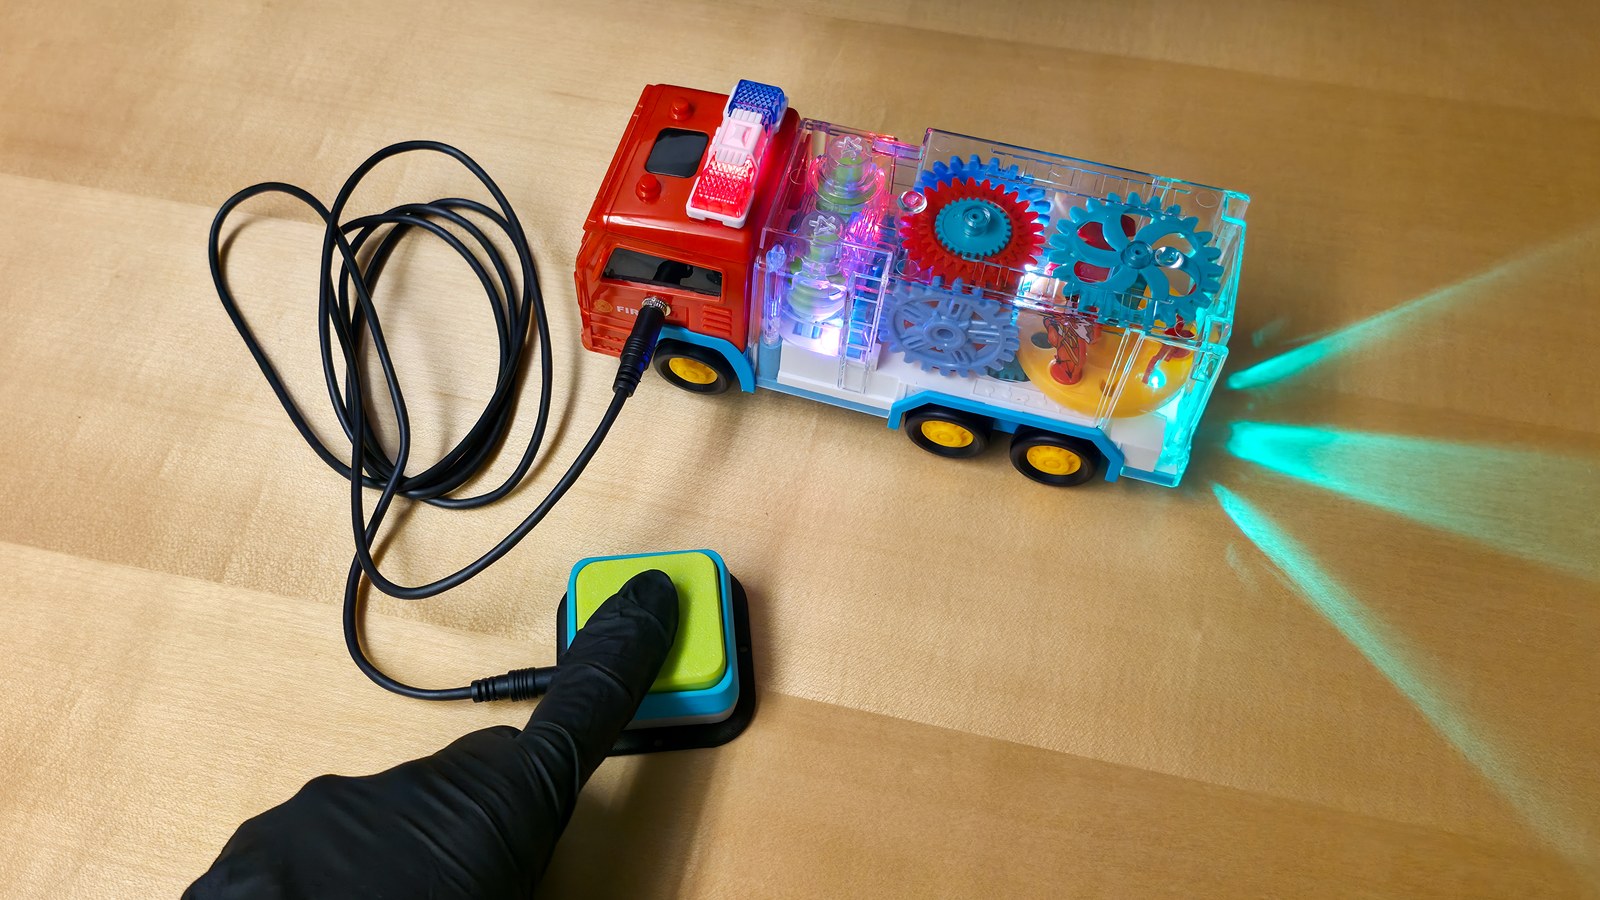
The Click Me is a 3D-printed access switch with a 3.5 mm mono plug, the standard connector for switch-adapted toys, communication aids, and switch interfaces. It is built around a small custom printed circuit board that carries a 3.5 mm jack and a hot-swap socket for an ordinary mechanical keyboard switch.
Nobody has to solder anything. The board is ordered from JLCPCB with both parts already fitted, so building one means pressing a keyboard switch into the socket by hand, pushing on a printed keycap, and snapping the four printed housing parts together. No screws and no glue either.
Why the button is a keyboard switch
Commercial access switches arrive with one actuation force baked in. When it is too heavy or too light for the person in front of me, there is not much I can do except order a different switch and wait. Mechanical keyboard switches are mass-produced, cheap, and sold in a wide range of forces, feels, and sounds: light linear for limited strength, heavier for someone who rests a hand on the button, clicky for someone who needs to hear that the press registered. Swapping one takes seconds and no tools, so the button can be matched to the person, and matched again when their needs change.
Five interchangeable keycaps change the size, height, and texture of the pressing surface, including one with a tactile pattern you can find by touch.
What is in the repository
The GitHub repository linked above has everything needed to make one and to build on it: the board files ready to upload to JLCPCB with assembly turned on, the parts and placement lists, the nine printable parts, a step-by-step ordering guide, and an assembly guide where every step has a photograph and every photograph is described in words. It also has the real costs from my own orders. A finished switch currently comes to about $8.43 in small quantities, most of that the cable and the board, and the board alone drops from $4.82 to $2.36 each when ordered fifty at a time.
Where it stands
This is a working prototype, not a finished release. The housing is at version 0.5 and the board at version 0.2, both built and in daily use. The Fusion 360 sources for the printed parts are not published yet; I will add them once they are cleaned up, so for now the parts can be reproduced from the mesh files but not easily modified. The assembly animation on YouTube shows an earlier housing revision, with the same order of assembly.
Photo gallery
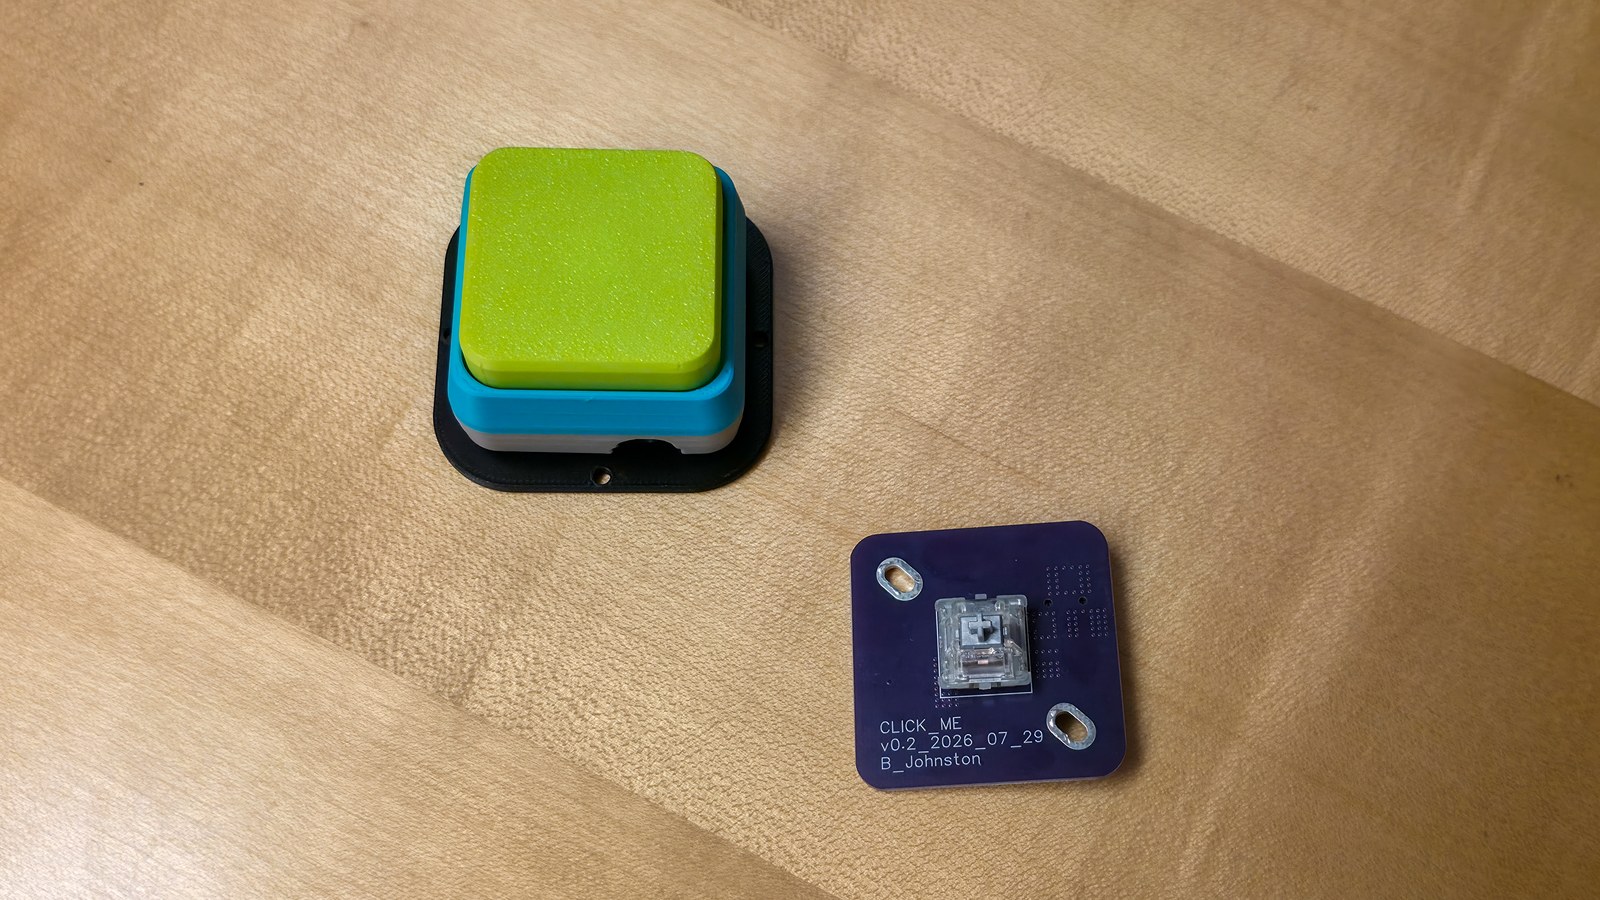
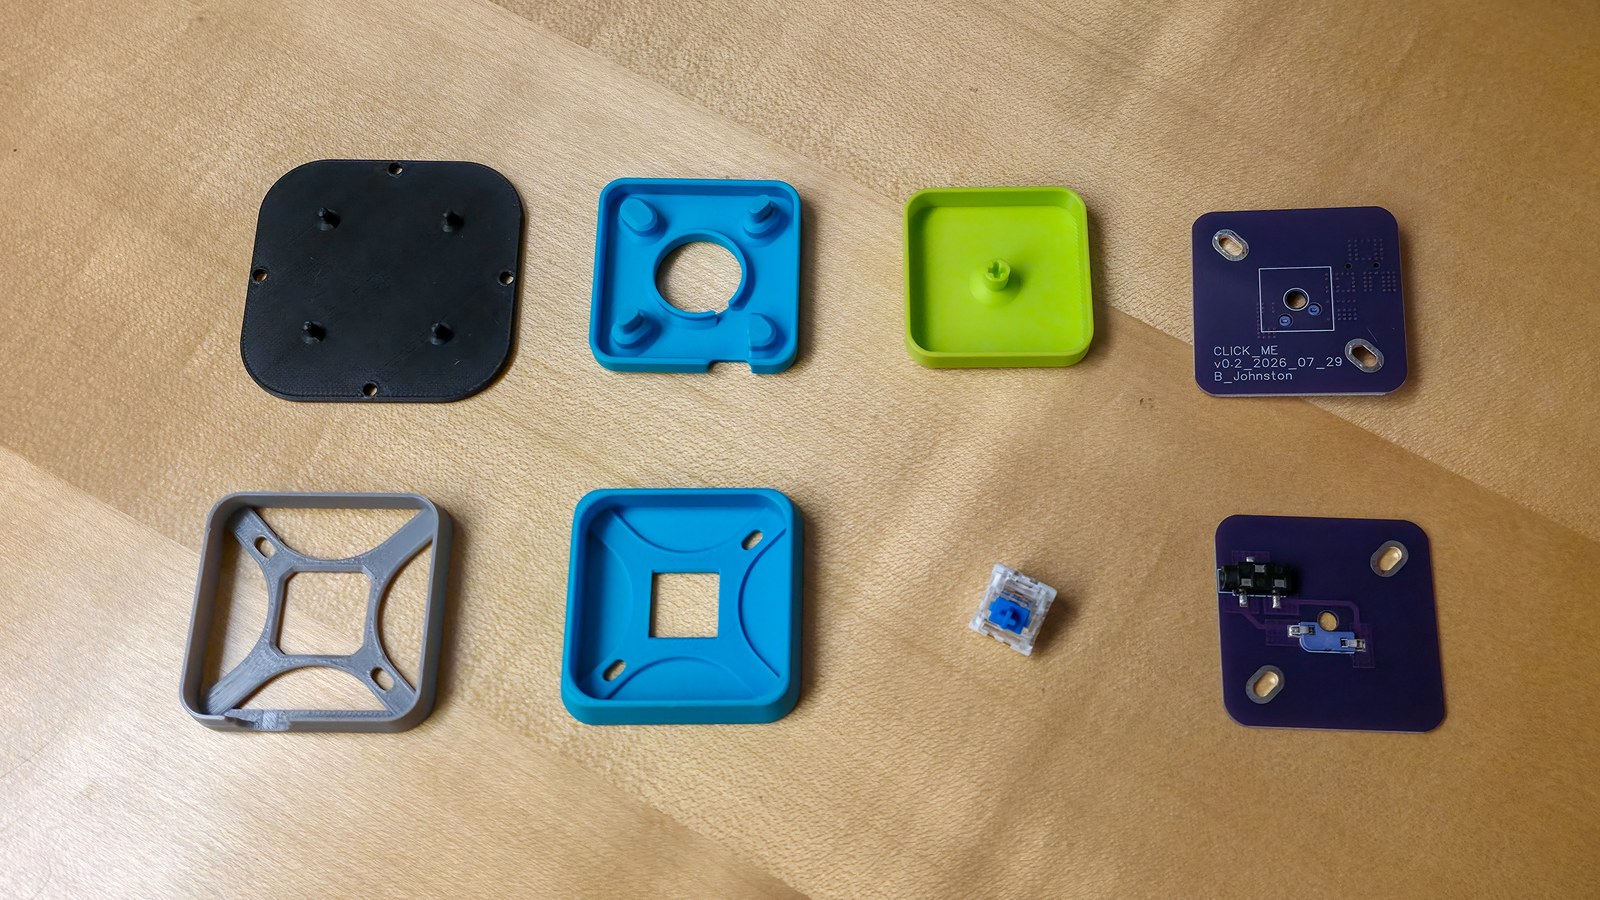
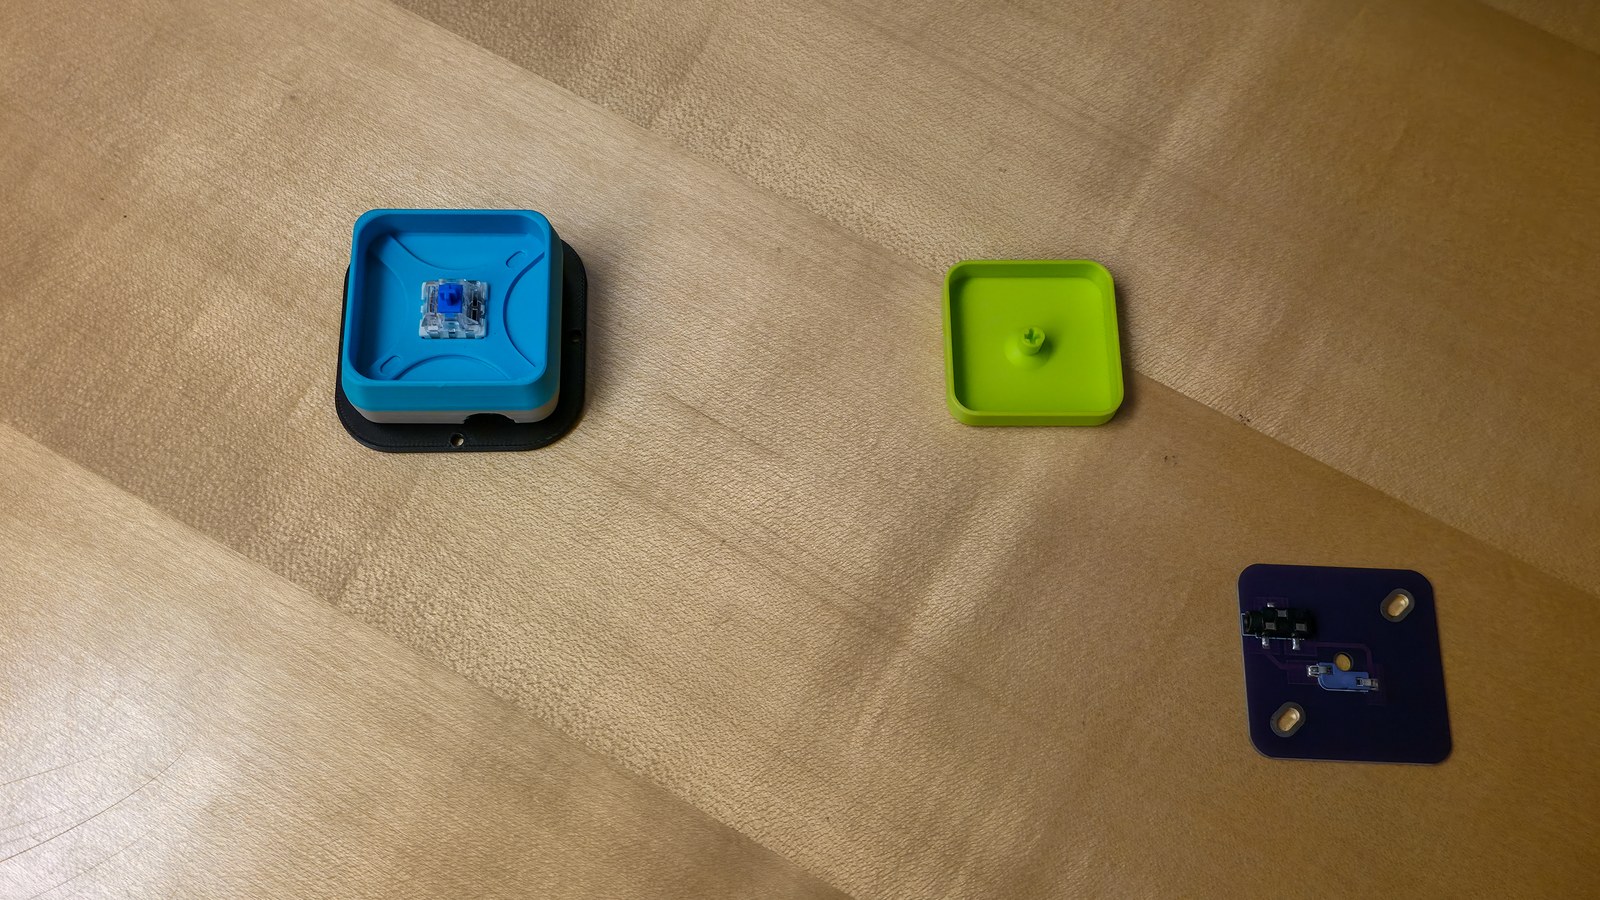
Everything that goes into one Click Me. The circuit board arrives with both parts already soldered.
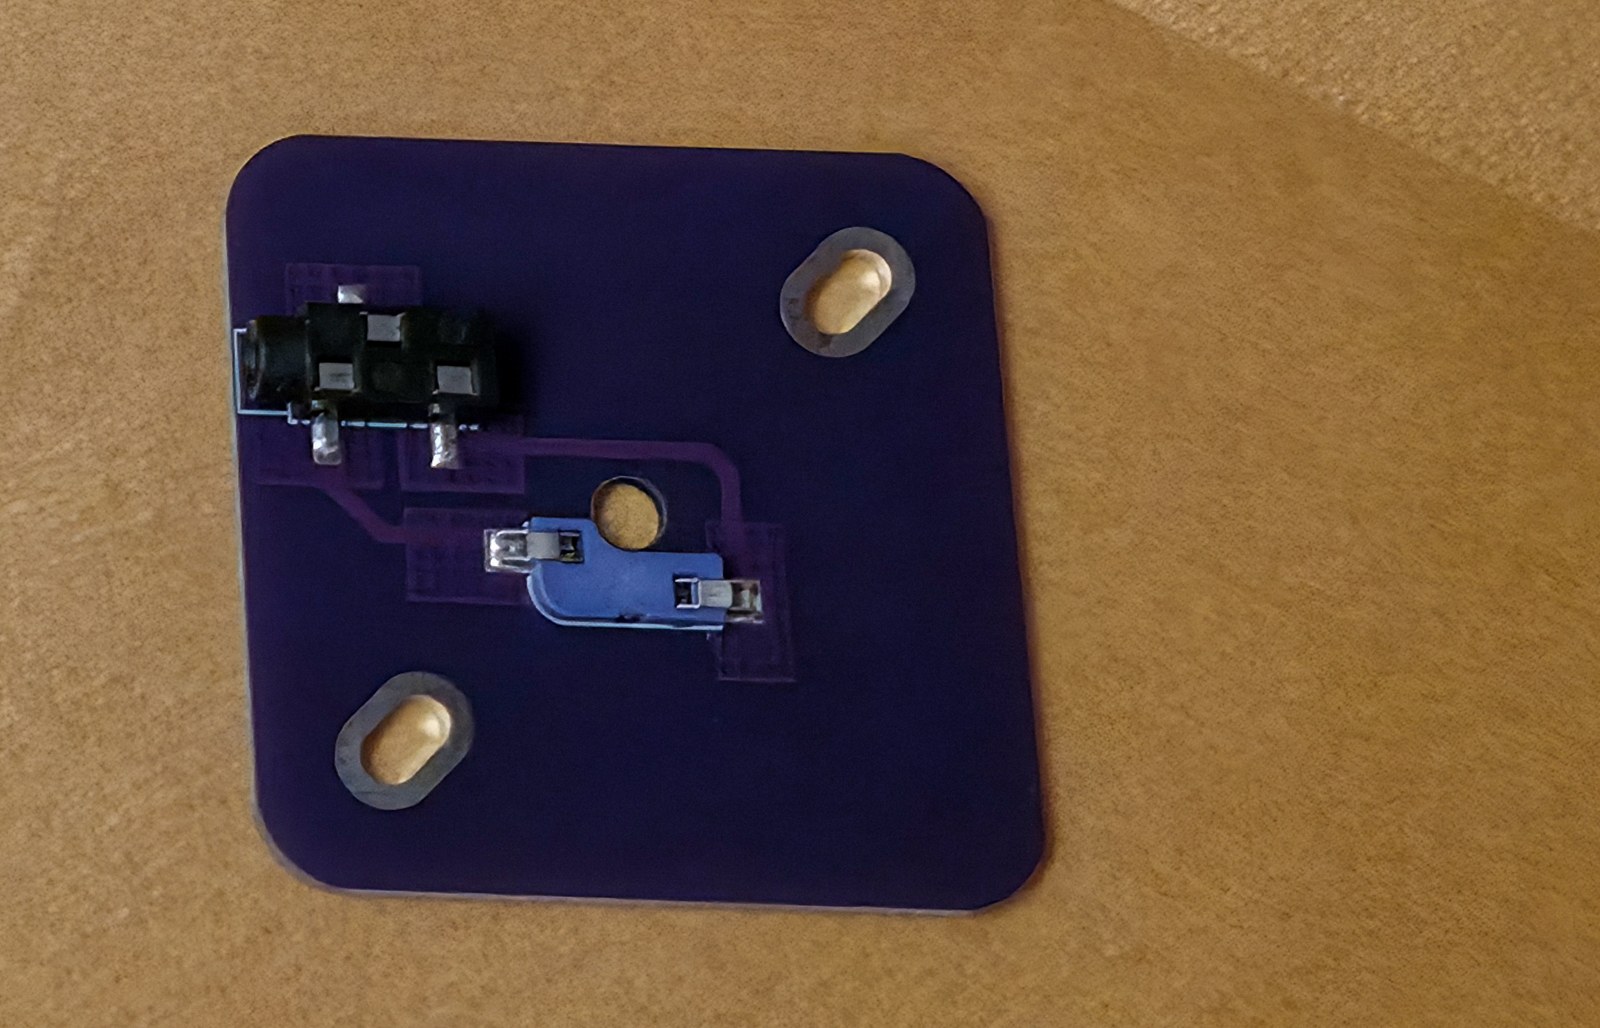
The whole circuit. The socket grips the pins of any Cherry MX compatible keyboard switch, so the switch is held by friction rather than solder.
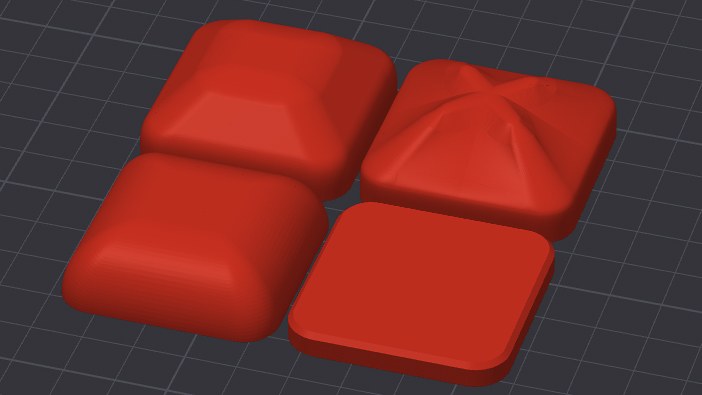
Four of the five keycap shapes in the files, including one with a tactile pattern you can find by touch.
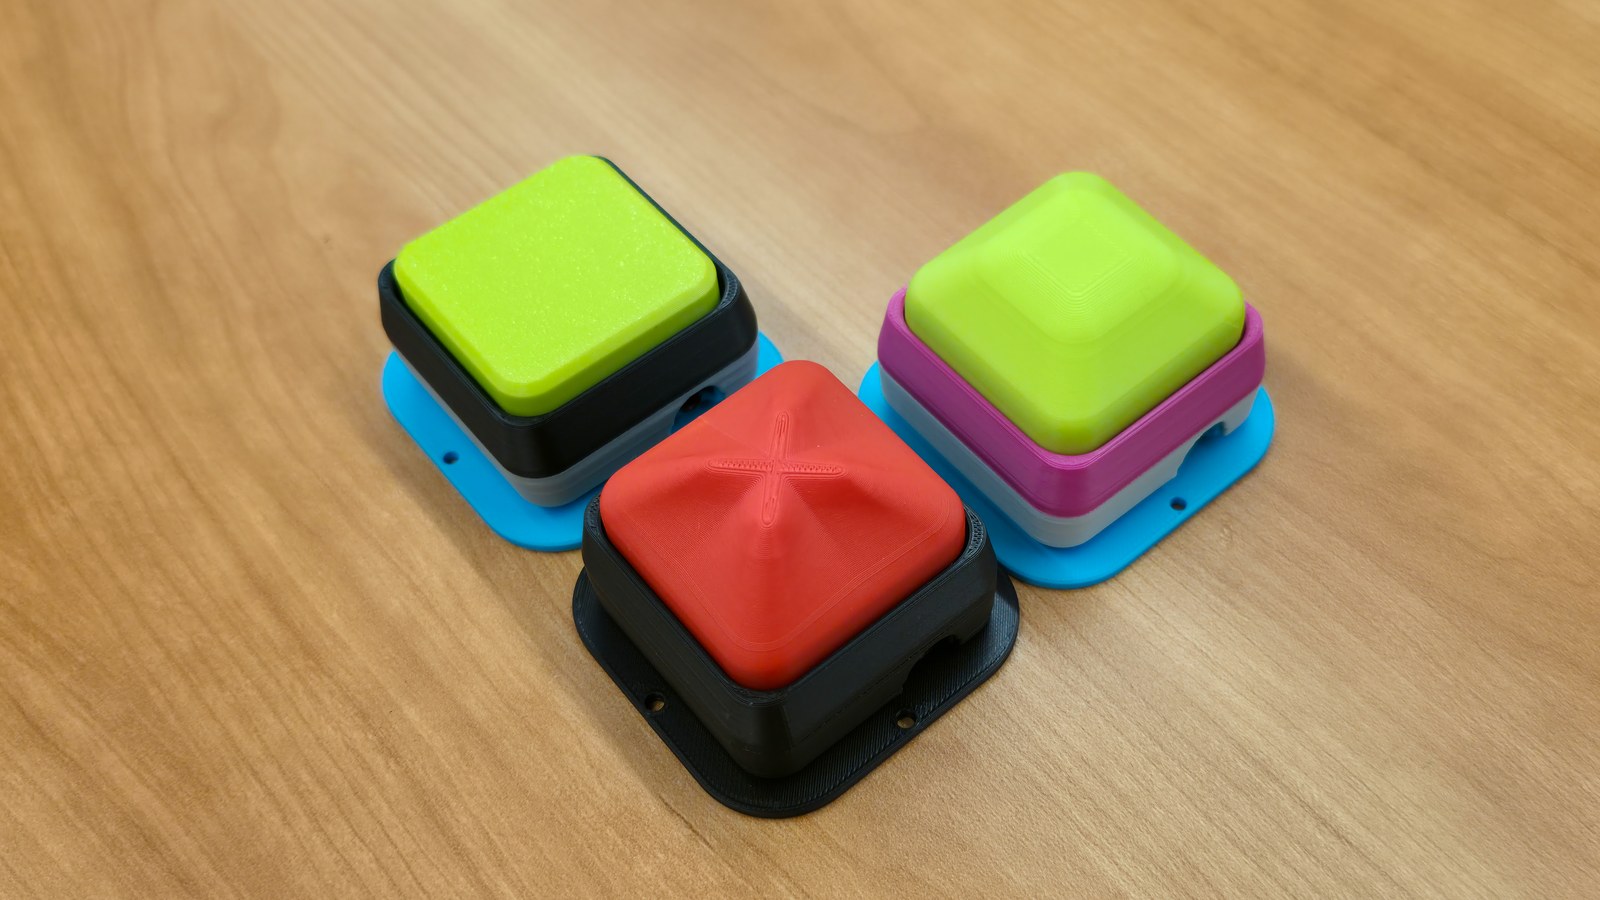
Three of those keycaps printed and in use, with the housing parts printed in different colours. The red one in front has the tactile pattern.